Sunday, March 26, 2023

Happy Easter-Coffee And Cards With Celeste And Deb


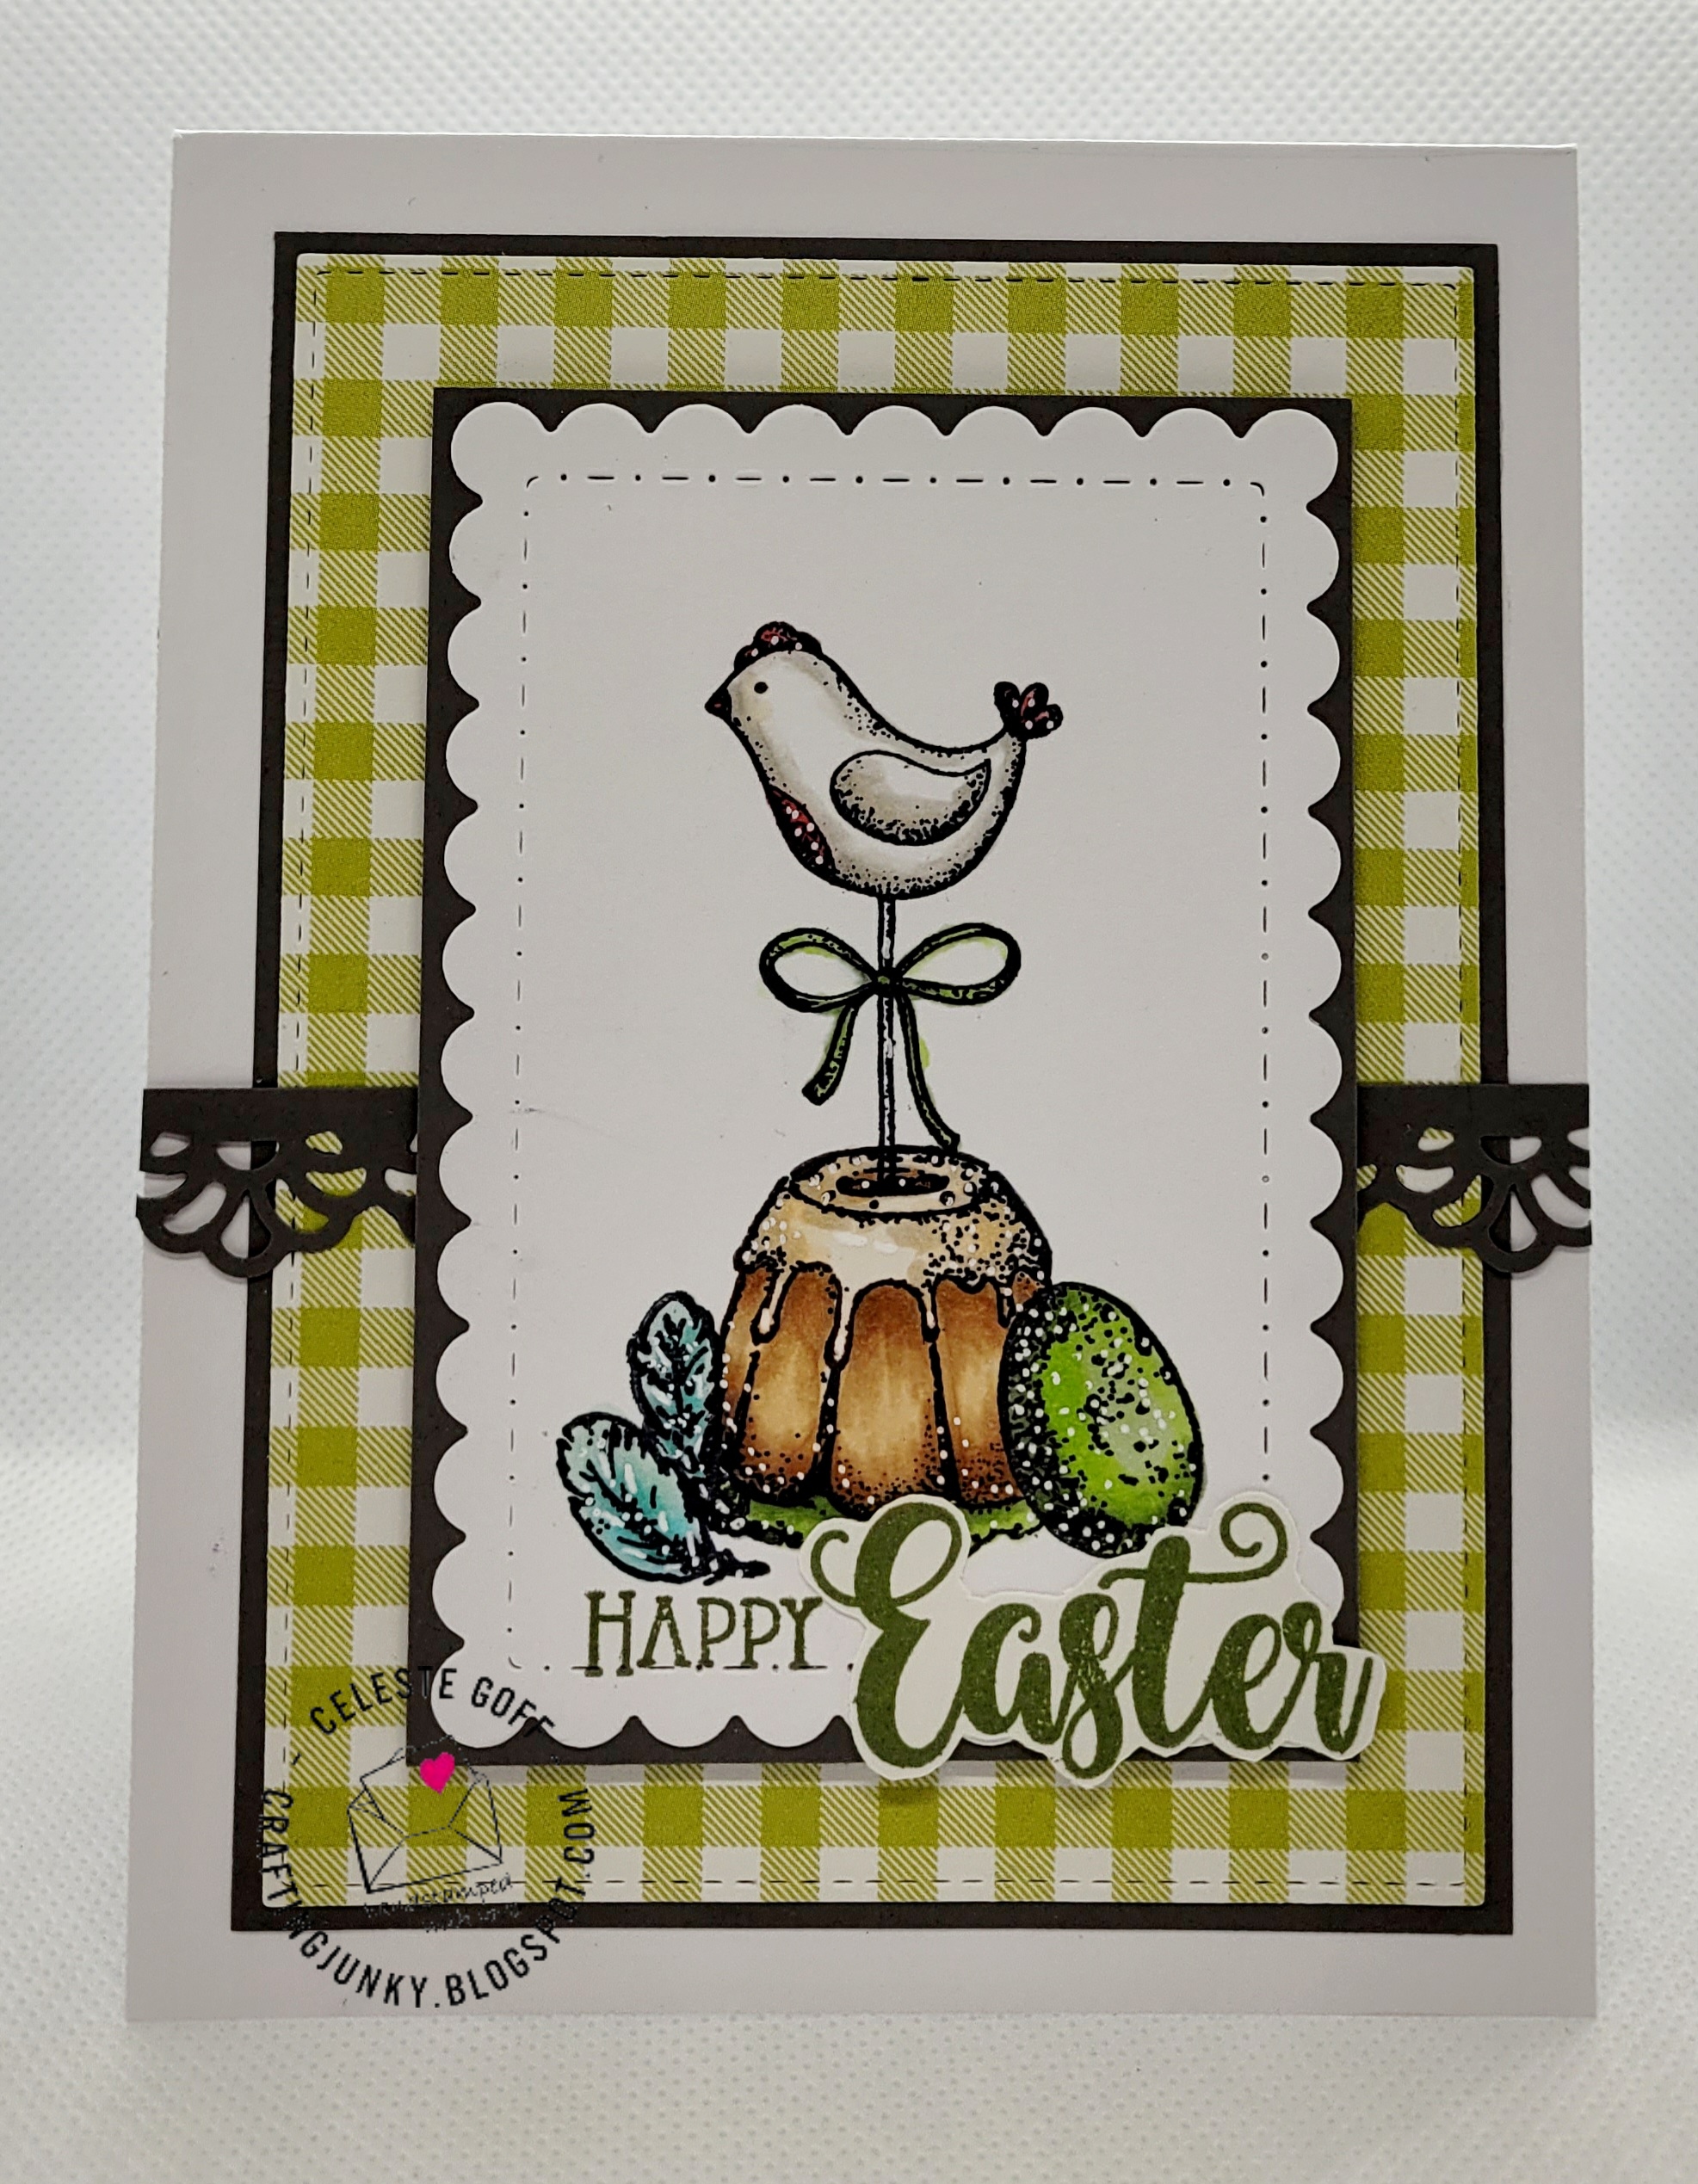
Hello, and thank you for visiting my blog today! Deb and I are celebrating Spring in our coffee and cards collaboration. I recently picked up a few new stamp sets on clearance from Whimsy Stamps, and thought it would be fun to use one of my new sets for this card. I started by die cutting a panel of pretty green gingham patterned paper from Simple Stories  Summer Lovin' 6x8 paper pad using a stitched rectangle die from Paper Rose, and matted it with some olive green cardstock that I had in my stash. I adhered that panel directly onto my white A2 card base. Using a lacy border metal die I cut down more of the olive green cardstock and adhered that onto the card slightly lower than halfway. I stamped out my images from Whimsy Stamps Easter Memories stamp set onto some white Copic-friendly cardstock and colored the images using my alcohol markers. Using a scalloped and pierced edge rectangle die from Gina Marie Designs I created a focal panel. I matted that panel onto another piece of olive cardstock and popped the panel up using 3M foam tape. I stamped Happy directly onto the focal panel using Memento tuxedo black ink. I then stamped the Easter sentiment onto a seperate piece of paper using Gina K Designs ink in Avocado and fussy cut the sentiment out. I adhered it to the card using liquid glue and finished my card off my added some white gel pen detail to all of the images. 
For my beverage this month, I opted to create a nice "adult" hot chocolate by using a chocolate bomb with a huge dollop of Whip Shots vodka infused whipped cream in Mocha! Now, be sure to stop by Debra's blog and see how she was inspired by this month's theme!


Monday, March 13, 2023

It's Your Special Day


Today's card was created for this month's Unity {Show & Tell}sketch challenge. To create my card I started by layering some deep Burgandy cardstock from The Paper Studios onto my white A2 card base. I then layered a gorgeous piece of patterned paper from the Studio Calico Sundrifter 6x6 paper pad on top. I then stamped the beautiful image from the Unity Stamp Company's Rebuild Yourself stamp set onto some white Copic-friendly cardstock, and colored the image using my alcohol markers. I trimmed the panel down and rounded the corners with my We Are Memory Keepers corner chomper. I layered it onto more of the same Burgandy paper and rounded those corners too. I adhered that panel onto the patterned paper following the sketch. I stamped the sentiment from Stamper's Anonymous Crazy Talk stamp set. I cut the sentiment strip down and matted it onto more Burgandy cardstock and adhered it to the card. For a finishing touch, I adhered some gorgeous Burgandy sequins from The Ton around the focal panel. 


Thank You For Being A Ray Of Sunshine


Happy Monday! Today's card was created for the latest Color Throwdown card challenge. I just picked up this adorable lemon stamp from Stampabilities at Hobby Lobby on clearance and couldn't resist using it for this challenge. I stamped the image twice, colored it using my alcohol markers, fussy cut them out, adhered them together and added foam dimensionals from Stampin' UP behind them. I stamped the background using an abstract background stamp from Spellbinders and bashful blue ink from Stampin' UP. I cut the panel down using a stitched rectangle die from Paper Roses and adhered it to some light blue cardstock from Paper Crafts. I adhered that panel directly to my white A2 card base. Using the same blue cardstock I cut down a small banner and ran it through the same stitched rectangle die to get the stitched edges. I stamped the sentiment from Stampendous True Friends stamp set using Memento tuxedo black ink. I adhered it to the card and added the lemons to the left of the sentiment. To finish off my card I added some white gel pen detail to the lemons and some pretty light blue sequins from Pretty Pink Posh around the focal panel. Thank you for stopping by my blog today!


Saturday, March 4, 2023

You're Special-Send A Smile 4 Kids March 2023

This month a Send A Smile 4 Kids our theme is cards for boys. What could be more perfect for a special little boy than a cute little green monster, right? I found the inspiration for this adorable card on Pinterest, and it was so easy to create. I started by layering some basic black cardstock onto my A2 card base. I cut down a piece of patterned paper from the Little Yellow Bicycle Fern & Forest 6x6 paper pack using a Lawn Fawn stitched hill border die and attached the bottom piece directly to my cardstock. I stamped the sentiment from Paper Smooches Sentiment Sampler stamp set onto the card using Gina K Designs black ink. Using My Favorite Things pierced edge nesting circle dies and Spellbinders pennant dies I created the eyes and teeth for my little monster. I glued the eyes together in a wonky pattern and attached them to the top panel and then attached the teeth using to the underside of the panel. Once everything was adhered to the panel, I attached it to the card using 3M foam tape and added some white gel pen detail to the eyes for a little extra interest. Thank you for stopping by my blog today. Be sure to head over to Send a Smile 4 Kids to check out what the rest of the design team created this month!